create 360 image
How to Create 360 Images: A Complete Guide for Photographers and Real Estate Agents
Creating immersive, high-quality 360 images is no longer just for professional photographers with expensive gear. Thanks to user-friendly tools and platforms like www.threesixty.tours, both photographers and real estate agents can now create, host, and share stunning 360-degree virtual tours with ease.
Whether you’re showcasing a luxury home, capturing a travel destination, or building an interactive portfolio, learning how to create 360 images is a must. This guide walks you through everything—from tools and setup to editing and publishing—to help you craft professional-grade 360 images that engage and convert.
I. Introduction
A. What Is a 360 Image?
A 360 image, also called a spherical or panoramic image, captures the entire environment around the camera—360 degrees horizontally and 180 degrees vertically. Unlike regular photos, these images let viewers look around in every direction by clicking, dragging, or moving their device.
This immersive format creates the feeling of standing inside the scene. It’s a powerful way to tell stories, showcase spaces, and engage viewers in a more meaningful way.
B. Why 360 Images Matter
360 images are changing how we experience content across industries. In real estate, they allow buyers to tour properties without stepping inside. This saves time, builds trust, and speeds up sales.
Photographers can use 360 images to offer new creative experiences—like capturing entire landscapes or interactive interiors. In travel and hospitality, 360 images let potential guests preview hotels, resorts, and attractions, helping boost bookings.
Platforms like www.threesixty.tours make it easy to turn these images into interactive virtual tours with clickable elements, branding, and embedded media. It’s a game-changer for marketing and client engagement.
C. What This Guide Covers
This guide is designed for photographers and real estate pros who want to master 360 image creation. We’ll cover:
- Choosing the right equipment
- Setting up and capturing your shots
- Editing and stitching your images
- Publishing and sharing your final work
Whether you’re just starting out or refining your skills, you’ll find practical tips to help you create immersive experiences that stand out.
II. Tools and Equipment for Creating 360 Images
A. Cameras and Devices
- Dedicated 360 Cameras
These cameras are built specifically for 360 photography. They use two or more ultra-wide lenses to capture the entire scene, then automatically stitch the images together.
Top models include:
- Ricoh Theta X and Z1
- Insta360 ONE X2 and X3
- GoPro MAX
These are perfect for real estate agents and photographers who want fast, reliable results with minimal setup.
- Smartphones with 360 Capabilities
Many smartphones can create 360 images using apps like Google Street View or Panorama 360. These apps guide you through taking multiple images, then stitch them together.
While image quality may not match dedicated cameras, it’s a great low-cost option for previews or casual use.
- DSLR or Mirrorless Cameras
For pros who want the highest quality, DSLRs or mirrorless cameras paired with a panoramic tripod head are the way to go. You’ll shoot overlapping images and stitch them later using software.
This method gives you full control over resolution, focus, and exposure—ideal for luxury real estate or commercial projects.
B. Software and Apps
- Desktop Stitching Software
If your camera doesn’t stitch images automatically, you’ll need software like:
- PTGui: Advanced stitching with great control
- Hugin: Free and open-source
- Autopano: Still used by some, though discontinued
These tools help you align, blend, and export high-quality 360 images.
- Mobile Apps
For quick and easy 360 creation, try:
- Google Street View
- Panorama 360
- Insta360 and Ricoh Theta companion apps
These apps let you shoot, stitch, and even share images directly from your phone.
- Editing and Enhancement Tools
Post-processing is key to making your 360 images pop. Use:
- Adobe Lightroom: For color correction and tone adjustments
- Photoshop: For retouching and removing blemishes
- Kuula and Pano2VR: For adding interactive elements like hotspots and navigation
You can also integrate your final images into www.threesixty.tours to create polished, branded virtual tours.
III. Preparing for the Shoot
A. Choosing the Right Location
- What Makes a Great Location?
Look for spaces that are visually appealing and benefit from a full 360 view. In real estate, this might be a bright living room or a landscaped backyard. For photographers, consider scenic landscapes, bustling cityscapes, or unique interiors.
- Lighting and Timing
Natural light usually works best. Shoot during golden hour—early morning or late afternoon—for soft, even lighting. Avoid harsh midday sun, which can cause overexposure and strong shadows.
B. Setting Up Your Gear
- Use a Tripod or Monopod
A stable setup is essential. For DSLRs, use a tripod with a panoramic head to rotate around the camera’s nodal point. This reduces parallax and makes stitching easier.
For 360 cameras, a monopod with a small footprint helps minimize the stand’s appearance in the final image.
- Camera Settings
Use manual settings to keep exposure consistent. Lock in ISO, white balance, and focus. For 360 cameras, make sure the device is level and placed at eye height for a natural perspective.
IV. Capturing the 360 Image
A. Shooting Techniques
- For DSLR and Mirrorless Cameras
Capture overlapping images—about 30-50% overlap between shots. Rotate the camera horizontally in steady increments. Then tilt up and down to cover the sky and ground.
This method ensures complete coverage and high-resolution results.
- For 360 Cameras
Most 360 cameras stitch images automatically. Just press the shutter button, and the camera does the rest. Use the companion app to preview and adjust as needed.
B. Pro Tips for Better Shots
- Avoid Common Mistakes
- Don’t include moving people or objects—they can cause ghosting.
- Watch for lighting differences between interior and exterior areas.
- Keep your camera level to avoid tilted horizons.
- Make It Immersive
Center yourself in the space to capture a balanced view. Remove clutter or personal items. For real estate, stage the space to highlight its best features. For photographers, think about the story you want to tell.

V. Post-Processing and Stitching
A. Importing and Organizing Files
- Transfer Your Images
Use a card reader or USB cable to transfer your shots. Organize them into folders by project or location to keep things tidy.
- File Management
Name your files clearly (e.g., kitchen_01.jpg). Back them up to the cloud or an external drive to prevent data loss.
B. Stitching Your Images
- Using Stitching Software
Load your images into PTGui or Hugin. Align control points and choose the equirectangular projection (standard for 360 images). Export at high resolution for best results.
- Fixing Common Issues
If you see seams or ghosting, adjust control points or use masking tools. Some software offers automatic fixes, but manual tweaks often yield better results.
C. Editing and Enhancing
- Adjust Color and Light
Use Lightroom or Photoshop to correct white balance, boost contrast, and clean up imperfections. Make sure the entire image looks uniform and natural.
- Add Interactive Features
Use platforms like www.threesixty.tours to add interactive elements. You can include:
- Hotspots for navigation
- Embedded videos or audio
- Floor plans and maps
- Contact forms or links to listings
These features enhance user engagement and make your virtual tours more informative and professional.
VI. Publishing and Sharing
A. Hosting Your 360 Images
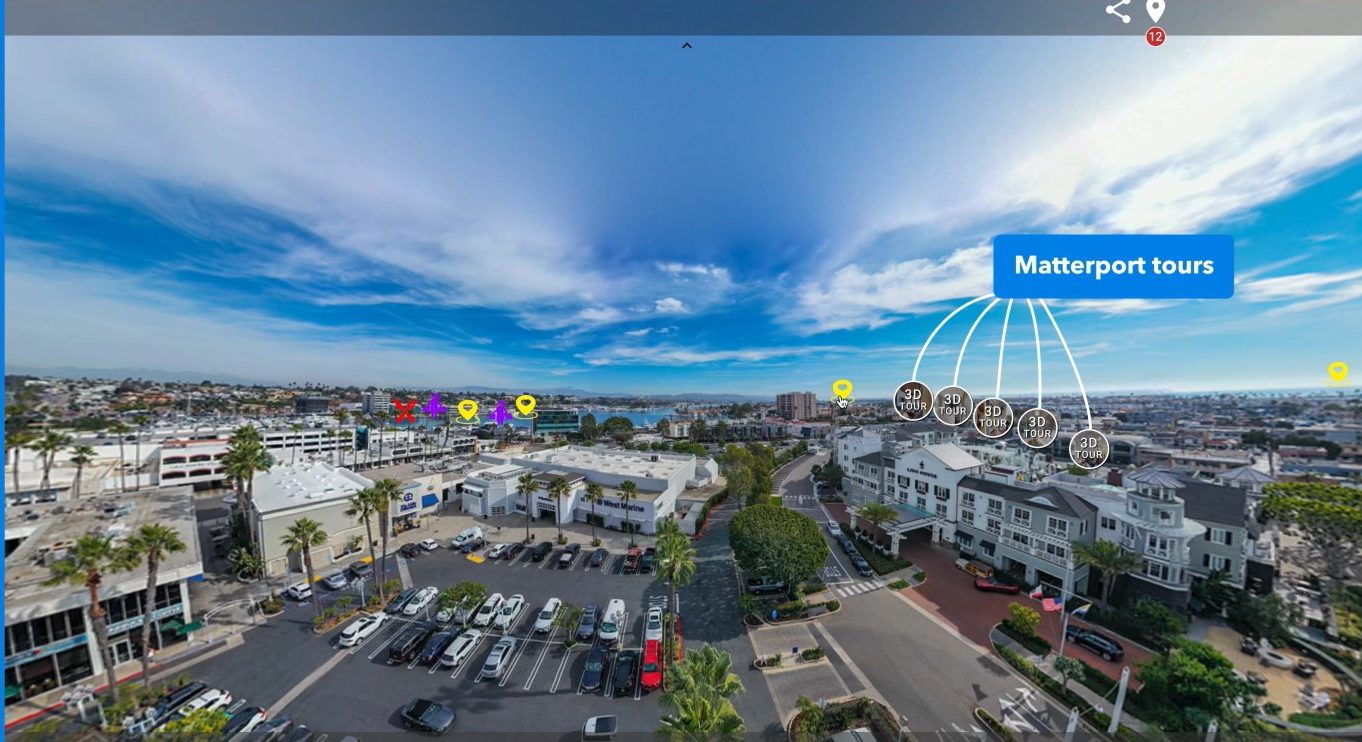
You’ll need a platform that can handle interactive 360 content. www.threesixty.tours is built specifically for this, offering:
- Easy drag-and-drop uploads
- Custom branding options
- Mobile and VR compatibility
- Analytics to track viewer engagement
B. Sharing Your Work
Once your tour is ready, you can embed it on your website, share it via social media, or send it directly to clients. Use calls-to-action to guide viewers, such as “Schedule a Tour” or “Contact the Agent.”
C. Best Practices
- Test your tour on different devices
- Use high-resolution images for clarity
- Keep navigation simple and intuitive
- Update content regularly to stay current
VII. Conclusion
A. Key Takeaways
Creating professional 360 images takes more than just pressing a button. You need the right tools, thoughtful planning, and careful editing. But the results are worth it.
For real estate agents, 360 images can boost listings and close deals faster. For photographers, they offer a new way to tell stories and connect with audiences.
With platforms like www.threesixty.tours, turning your images into interactivevirtual tours has never been easier.
B. Learn More and Keep Growing
Want to dive deeper? Here are some helpful resources:
- Udemy: Offers beginner to advanced 360 photography courses
- 360 Rumors YouTube Channel: Great for gear reviews and tutorials
Also, join online communities like the “360 Photography & Virtual Tours” Facebook group or the Virtual Tour Pro network. You’ll find inspiration, feedback, and the latest industry tips.
Ready to get started? Head over to www.threesixty.tours and begin creating immersive experiences that captivate and convert.