Custom Polygon Markers (Beta)
ThreeSixty Tours “Whitelabel” accounts include the unique ability to create “Polygon Markers” that can be drawn around specific places in panorama, vs a stander “pin” or “icon”-based marker. These polygons can be used to denote lot sizes, outline buildings, or just about anything else you can imagine where custom shape is needed to describe a feature in your image.
Please note that this feature is currently in “beta” as we continue to refine the process in which shapes are added and manipulated inside the editor.
Getting started with Polygon Markers is easy:
- Make sure you’re subscribed to a “Whitelabel” Account
- Right-click to create a standard Marker.
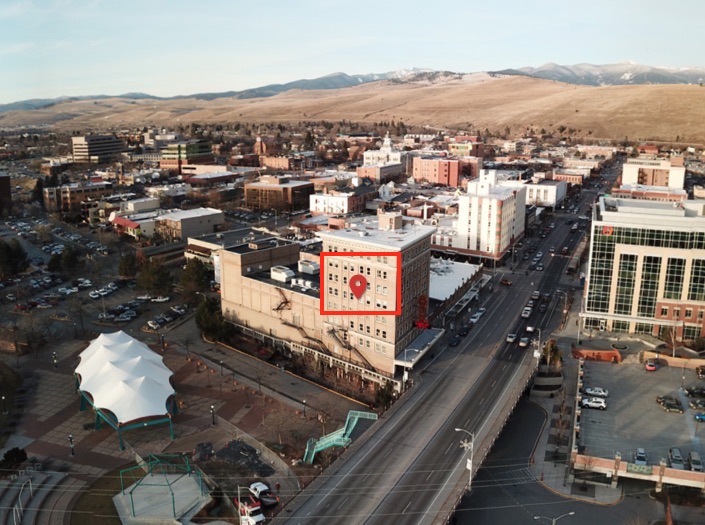
- Edit this Marker by hovering and clicking the pencil icon to reveal the marker settings dialog. Here you’ll scroll down to the “Custom Polygon Marker” section and choose from one of the pre-defined shapes.
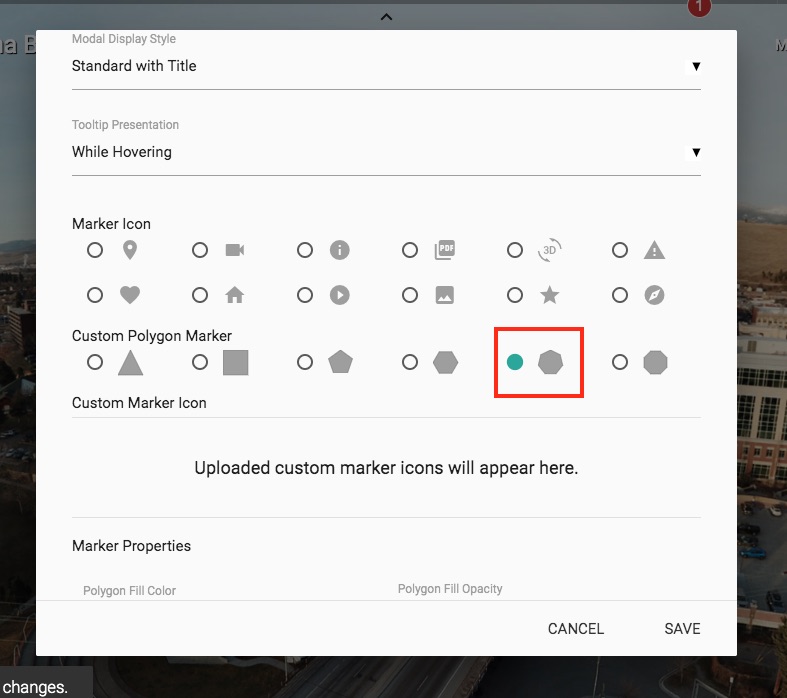
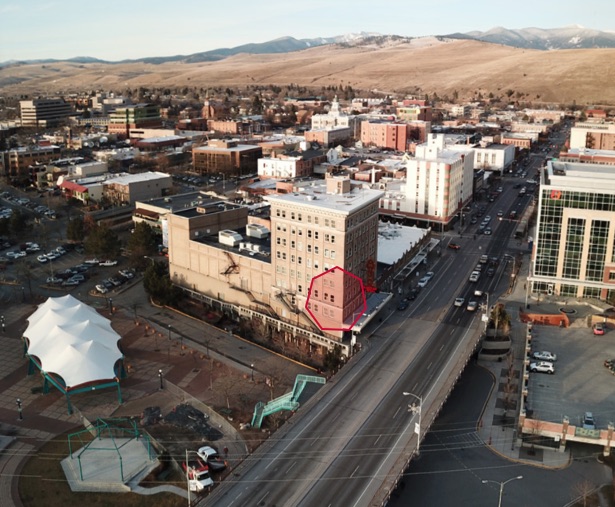
- Clicking “Save” will populate the Editor with your chosen starter shape.
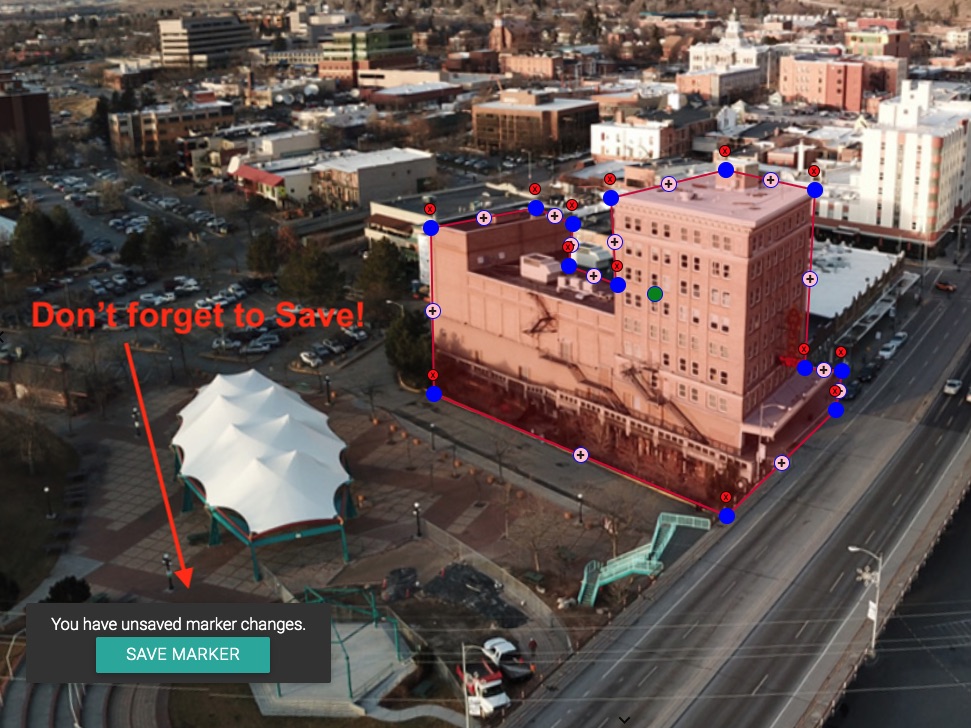
- From here, hover the shape to reveal that each point is an draggable blue circle. In between each circle are (pink) “+” hotspots that can be used to create additional points. Existing (blue) points can be removed by clicking the associated (red) “x”.
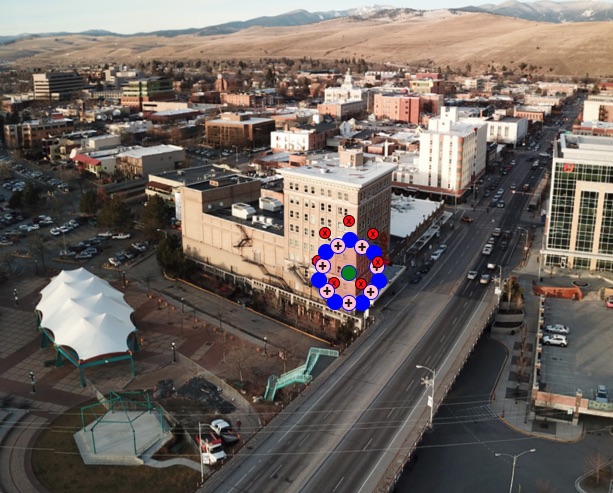
- Take some time and drag the blue circles to outline whatever element in your image you are trying to outline. Add new points as needed using the (pink) “+” icon.
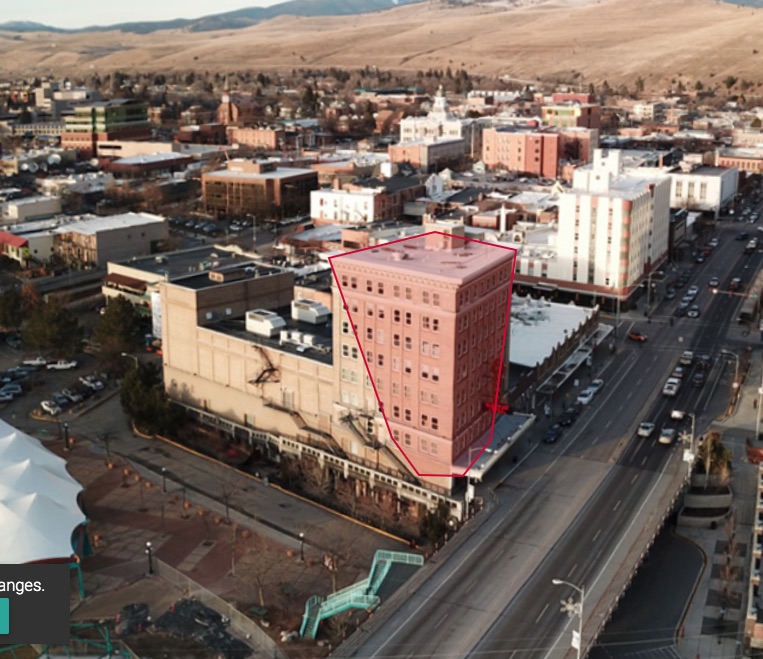
- After finishing the outlining process, using the method described above, be sure to click the “Save Marker”.
That’s it! Go forth and build!
