how to create 360 degree photo
How to Create a 360-Degree Photo: A Complete Guide for Photographers and Real Estate Agents
In today’s digital-first world, 360-degree photography is changing how we experience and share spaces online. Whether you’re a real estate agent wanting to create immersive virtual tours or a photographer exploring new creative tools, learning how to create a 360-degree photo is a game-changer.
This step-by-step guide will walk you through everything—from choosing the right gear to editing your final image—so you can confidently create professional-quality 360-degree photos. This article is especially helpful for users of www.threesixty.tours, a platform that makes it easy to turn your panoramic images into interactive virtual experiences.
Let’s dive in and unlock the full potential of 360-degree photography.
I. Introduction
360-degree photography offers a completely immersive experience. Instead of capturing just one angle, it allows viewers to look in every direction—up, down, left, and right. This creates a sense of “being there” that standard photos just can’t match.
- For real estate agents, this means potential buyers can explore a property without stepping foot inside.
- For photographers, it opens up new creative possibilities and adds a valuable skill to their portfolio.
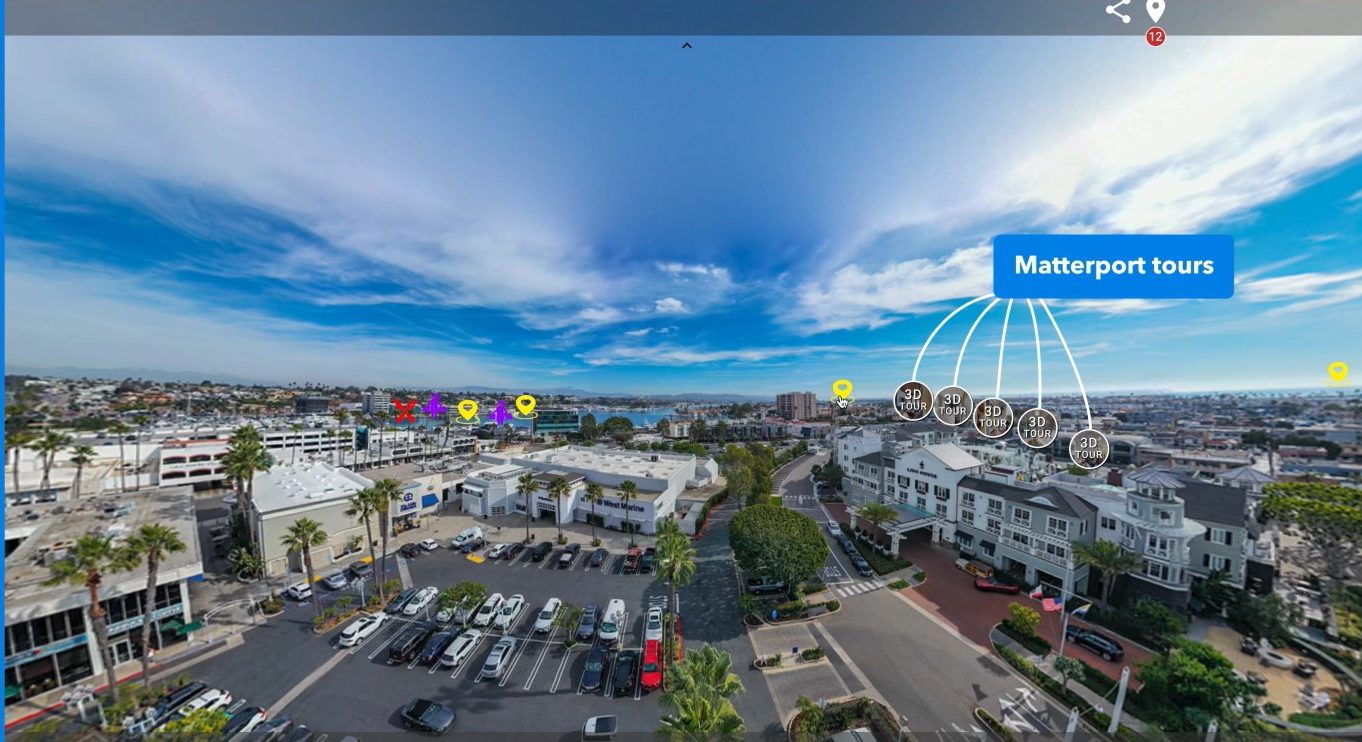
Platforms like www.threesixty.tours make it simple to upload, customize, and share your 360-degree photos as virtual tours. Whether you’re showcasing a luxury home or a boutique hotel, this technology helps you stand out.
Here’s what we’ll cover:
- Essential gear you’ll need
- How to set up your shot
- Best practices for capturing 360-degree images
- Stitching and editing techniques
- Helpful tips and resources for continued learning
II. Necessary Equipment
Creating a great 360-degree photo starts with using the right tools. You don’t need a huge budget, but investing in quality gear will make a big difference—especially if you plan to use your images in a professional setting like www.threesixty.tours.
A. Types of Cameras for 360-Degree Photography
- 1. Dedicated 360-Degree Cameras
These are the easiest way to get started. Cameras like the Ricoh Theta Z1, Insta360 ONE X2, and GoPro MAX are built specifically for 360-degree photography. They use dual lenses to capture everything around them and often stitch the images automatically. These cameras are compact, easy to use, and perfect for real estate agents or beginners who want fast, high-quality results. - 2. DSLR or Mirrorless Cameras with Fisheye Lenses
If you’re aiming for top-tier image quality, this setup is your best bet. You’ll use a DSLR or mirrorless camera with a fisheye lens to take multiple overlapping shots. Later, you’ll stitch them together using software. This method requires more time and skill but gives you full control over the final image. It’s ideal for professional photographers who want to showcase their work in detail on platforms like www.threesixty.tours.
B. Accessories to Improve Image Quality
- 1. Tripods and Stabilizers
A sturdy tripod keeps your camera steady and ensures consistent positioning. Some tripods are designed specifically for 360-degree photography and have a minimal footprint, so they don’t show up in your final image. Stabilizers or monopods are also useful if you’re shooting on the go. - 2. Remote Triggers
To avoid camera shake, use a remote trigger or set a timer. This is especially important when using a DSLR, where even a tiny movement can throw off your entire stitch.
C. Software for Stitching and Editing
Some cameras come with their own apps for basic stitching. But for more control, consider these options:
- PTGui: A favorite among pros for manual stitching and advanced control.
- Hugin: A free, open-source alternative with powerful features.
- Adobe Photoshop: Great for editing and fixing minor stitching issues.
- Insta360 Studio / Ricoh Theta App: Easy-to-use apps for those specific cameras.
You can also explore Google’s Street View app to publish 360-degree images directly to Google Maps, which is a great way to increase visibility.
III. Setting Up for the Shoot
The way you prepare your scene can make or break your final image. A cluttered room or poor lighting can ruin an otherwise perfect shot.
A. Choosing the Right Location
- 1. Lighting Conditions
Natural light is your best friend. Open windows and doors to let in soft, even lighting. If you’re shooting outside, aim for early morning or late afternoon to avoid harsh shadows. - 2. Background and Foreground Awareness
Because 360-degree photos capture everything, make sure the entire space is clean and visually appealing. Remove clutter, straighten furniture, and hide personal items. For real estate, staging the space can dramatically increase its appeal in a virtual tour on www.threesixty.tours.
B. Camera Positioning
- 1. Height and Angle
Set your camera at eye level—around 5 feet or 1.5 meters. This gives viewers a natural perspective. For creative shots, you can experiment, but consistency is key for virtual tours. - 2. Clear Field of View
Avoid placing the camera too close to walls or large furniture. Make sure nothing blocks the view in any direction. Use a tripod with a small base to minimize its presence in the shot.
C. Common Pitfalls to Avoid
- Reflections: Mirrors and glass can reflect your camera or you. Reposition or use props to block them.
- Movement: Ask people and pets to stay out of the frame. Movement can cause ghosting in the final image.
- Obstructions: Do a 360-degree scan before shooting to catch anything out of place.
A little prep goes a long way. The more attention you give to setup, the better your final result will be—especially when showcased in a www.threesixty.tours virtual tour.
IV. Capturing the Images
Now it’s time to shoot. The process depends on your camera setup, but the goal is always to create a seamless, immersive image.
A. Shooting Techniques
- 1. Using a 360-Degree Camera
These cameras make things easy. Mount the camera on a tripod, open the companion app to preview the scene, and trigger the shutter remotely. Most models will stitch the image automatically. - 2. Using a DSLR or Mirrorless Camera
This method takes more effort. You’ll take multiple overlapping images in a circular pattern using a fisheye or wide-angle lens. A panoramic tripod head helps maintain consistent angles. Depending on your lens, you’ll need between 4 and 8 shots to cover the full 360 degrees.
B. Exposure and White Balance Tips
- Use Manual Mode: Lock in your exposure, white balance, and focus. This keeps your shots consistent.
- Check the Histogram: Avoid blown-out highlights or dark shadows.
- Bracket Exposures: If the lighting is tricky, take multiple exposures and blend them later.
C. Overlapping Shots
If you’re using a DSLR, make sure each image overlaps the previous one by about 30%. This gives the stitching software enough data to align the shots correctly. The key to a great 360-degree photo is capturing high-quality source images. The better your raw material, the easier it will be to edit and upload to www.threesixty.tours.
V. Stitching and Editing the Photo
Once you’ve got your images, it’s time to stitch and polish them. This is where your photo really comes to life.
A. Stitching Software Options
Choose your software based on your setup:
- PTGui: Best for manual stitching and high-resolution images.
- Hugin: Free and powerful, great for hobbyists and pros.
- Insta360 Studio / Ricoh Theta App: Simple and fast for quick results.
- Adobe Photoshop: Good for minor stitching fixes and final edits.
B. How to Stitch Your Images
- Import your images into the software.
- Align the shots and set control points (if manual).
- Choose your projection settings for a natural look.
- Render the panorama in equirectangular format (2:1 aspect ratio).
- Export the final image in high resolution.
Equirectangular format is required for platforms like www.threesixty.tours and most 360-degree viewers.
C. Editing for a Polished Look
- 1. Color Correction: Adjust brightness, contrast, and color balance to make your image pop. Use Lightroom or Photoshop for best results.
- 2. Remove Artifacts: Use the clone stamp or healing brush to remove tripod legs, stitching errors, or unwanted objects.
- 3. Add Annotations: If you’re uploading to www.threesixty.tours, take advantage of features like hotspots, directional arrows, and text boxes to guide viewers through your space.
A clean, vibrant 360-degree photo will keep your audience engaged and make your virtual tour more effective.

VI. Conclusion
Creating a 360-degree photo might seem technical at first, but with the right tools and a little practice, it becomes second nature. Here’s a quick recap:
- Choose the gear that fits your goals and budget.
- Prepare your scene carefully—lighting and layout matter.
- Capture your images with consistency and attention to detail.
- Stitch and edit for a seamless, immersive final product.
Once your image is ready, upload it to www.threesixty.tours to turn it into an interactive virtual tour. Whether you’re selling real estate, promoting a venue, or building a creative portfolio, 360-degree photography helps you stand out.
Want to learn more? Check out this in-depth guide from Digital Photography School for additional tips and techniques.
And don’t forget—www.threesixty.tours offers tutorials, community forums, and support to help you get the most out of your 360-degree photos.
Now get out there and start shooting. Your next masterpiece is just a spin away.