how to create a 360 image
I. Introduction
In today’s fast-paced digital world, **360-degree images** are changing the game for photographers, marketers, and real estate professionals. Whether you’re creating a **virtual tour**, showcasing a property, or capturing a scenic landscape, learning how to create a **360 image** can take your visuals to the next level.
This easy-to-follow guide breaks down everything you need to know—from the basics to editing and sharing—so you can start creating immersive, interactive experiences right away. With tools like www.threesixty.tours, producing and sharing your **360 images** is easier than ever.
Let’s dive in.
What Are 360 Images?
A **360 image**—also called a **panoramic** or **spherical photo**—captures a full scene in every direction: up, down, and all around. Unlike regular photos, these images let your audience explore a space as if they’re standing right in the middle of it.
You can use **360 images** in:
- Virtual tours
- Real estate listings
- Travel blogs
- Event coverage
They’re perfect for creating immersive experiences that grab attention and keep people engaged.
Why 360 Images Matter
For photographers, **360 images** offer a fresh way to tell stories. Instead of showing just one angle, you can show the entire environment.
For real estate agents, these images are a game-changer. **Virtual tours** built with **360 photos** help potential buyers explore properties from anywhere. This saves time, increases engagement, and boosts sales.
Platforms like www.threesixty.tours make it simple to upload, host, and share your **360 images**. Whether you’re showing off a luxury condo, a cozy Airbnb, or a bustling café, **360 photography** offers a dynamic way to stand out.
Steps to Create a 360 Image
Here’s a quick overview of the process:
- Learn the basic types of **360 images** and what gear you need
- Choose the right location and set up your equipment
- Capture your image using the right techniques
- Edit and stitch your shots into a seamless **360 view**
- Share your image using platforms like www.threesixty.tours
In the next sections, we’ll walk you through each step in more detail.
II. Understanding 360 Imaging Techniques
Types of 360 Images
There are two main types of **360 images**:
- Spherical Images: These capture the entire scene—360 degrees horizontally and 180 degrees vertically. Viewers can look in any direction, even straight up or down. This format is ideal for **virtual tours** and immersive content.
- Cylindrical Images: These capture a full 360-degree view horizontally, but only a portion vertically. They’re easier to create with basic gear but not as immersive as spherical images.
Knowing the difference helps you choose the right format for your project.
What Equipment Do You Need?
You don’t need a Hollywood budget to get started. Here’s what you’ll need:
- 360 Camera: Devices like the Insta360 ONE X2, Ricoh Theta Z1, and GoPro MAX are built for **360 photography**. They have dual lenses to capture all angles at once.
- Smartphone: Some smartphones can shoot **360 images** using apps like Google Street View. It’s convenient, but the quality may not match a dedicated 360 camera.
- Tripod or Monopod: A stable base is key. Use a tripod or monopod to keep your camera level and reduce motion blur.
- Remote Shutter or Timer: This lets you trigger the shot without being in the frame. Most **360 cameras** come with remote control options or built-in timers.
Software for Editing and Stitching
Even the best camera needs a little help in post-production. Here are some top tools:
- Adobe Photoshop: Great for touch-ups, color correction, and removing blemishes.
- PTGui: A powerful tool for stitching multiple shots into one seamless panorama. Ideal for DSLR users.
- Insta360 Studio: Designed for Insta360 cameras. It offers stabilization, color correction, and easy editing.
- Ricoh Theta App: If you’re using a Ricoh camera, this app offers basic stitching and editing features.
You’ll also want to check out www.threesixty.tours for publishing and sharing your final images. It supports multiple formats and makes creating **virtual tours** a breeze.
III. Preparing for Your Shoot
Pick the Perfect Location
Your location sets the stage for your **360 image**. Whether you’re shooting indoors or outdoors, consider the following:
- Lighting: Natural light works best. Shoot during golden hours—early morning or late afternoon—for soft, even light. Avoid harsh midday sun that creates shadows and overexposure.
- Timing: Choose a time when the space is clean and quiet. For real estate, make sure the property is staged and clutter-free. For outdoor shoots, avoid busy times with lots of foot traffic.
Set Up Your Gear Like a Pro
- Camera Placement: Set your camera at eye level (around 5 feet or 1.5 meters) for a natural viewpoint. Place it in the center of the room or space for balanced coverage.
- Stabilization: Use a tripod or monopod for stability. Even slight movement can cause stitching errors or blurry images.
- Resolution and Exposure: Set your camera to its highest resolution. If your camera allows manual settings, adjust ISO, shutter speed, and white balance to match the lighting. This helps avoid inconsistencies in your final image.
- Test Shots: Take a few test photos before going all in. Check for lighting issues, focus problems, or unwanted objects in the frame.
IV. Capturing the 360 Image
Shooting Techniques
Auto Mode vs. Manual: Auto mode is easy, but it can produce uneven lighting. Manual settings give you more control and better results, especially in tricky lighting situations.
Multiple Shots for Stitching: If you’re using a DSLR or smartphone, you’ll need to take several overlapping shots from the same point. Use a panoramic head and aim for at least 30% overlap between shots.
Common Mistakes to Avoid
- Clutter: Clear out unnecessary items. A tidy space looks more professional and is easier to edit.
- Reflections: Watch out for mirrors and glass. They can reflect the camera or photographer. Adjust your angle or cover reflective surfaces.
- Inconsistent Lighting: Keep lighting consistent. Avoid mixing warm and cool light sources, and turn on all interior lights if needed.
- Camera Movement: Keep your camera steady. Even a small shake can ruin the shot.
V. Editing and Stitching the Images
Transfer Your Files
Move your images to your computer using a USB cable or card reader. Organize them by project or location for easy access.
Stitch Your Images
Use software like PTGui, Hugin (a free option), or your camera’s native app to stitch your shots into a seamless **360 image**.
If you’re using a **360 camera**, the images may be stitched automatically. Still, it’s a good idea to review and touch up the final image.
Final Touches
- Color and Contrast: Use Lightroom or Photoshop to adjust brightness, contrast, and saturation. Keep it natural—don’t overdo it.
- Remove Imperfections: Use the clone or healing tool to remove unwanted objects or blemishes.
Add Interactive Features
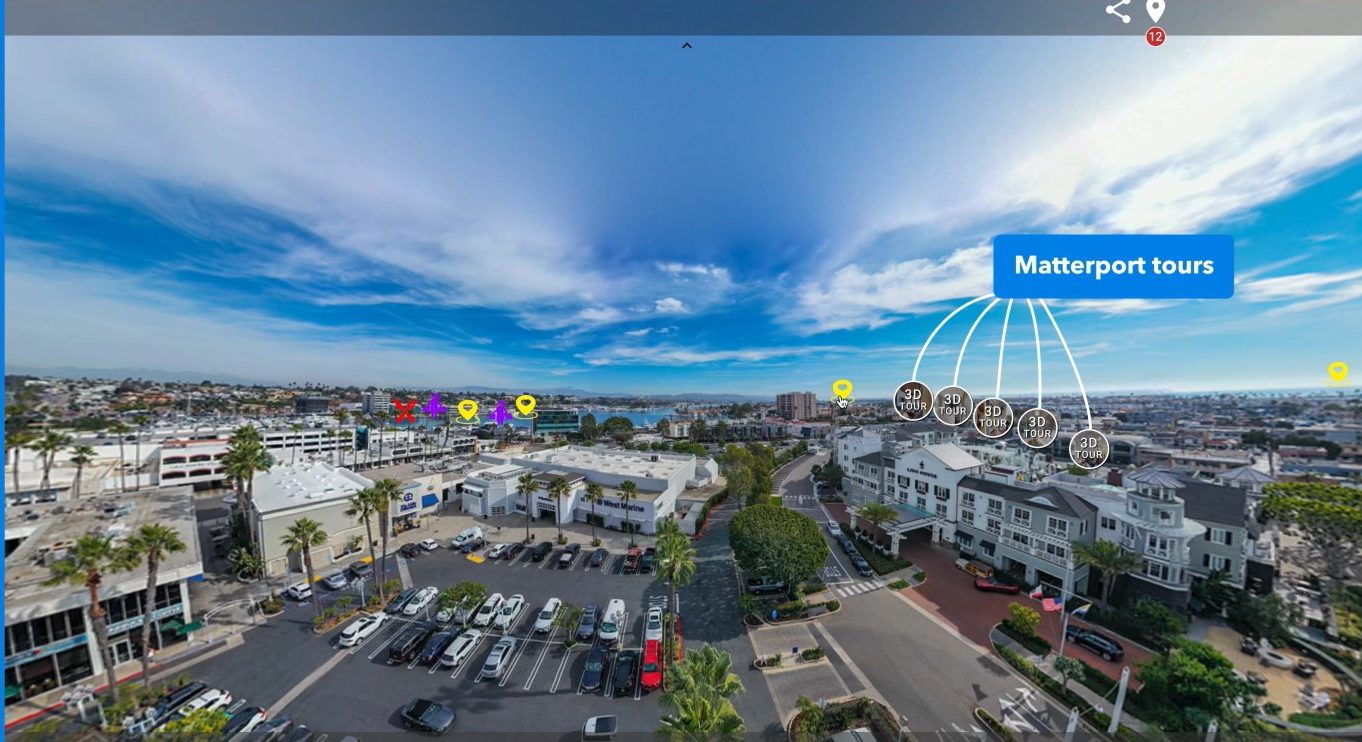
Platforms like www.threesixty.tours let you add interactive elements to your **360 images**, such as:
- Clickable hotspots that link to other rooms
- Text labels or pop-up info boxes
- Embedded videos or audio guides
These features make your **virtual tour** more engaging and informative. They’re especially useful in real estate and commercial photography.
Export and Upload
Once you’re happy with your edits, export the image in JPEG or PNG format. Then upload it to www.threesixty.tours to create and share your **virtual tour**. You can embed it on your website, post it on social media, or send it directly to clients.

VI. Conclusion
Quick Recap
Creating a high-quality **360 image** involves several steps:
- Choose the right equipment and imaging format
- Prepare your space and set up your gear
- Capture the image using proper techniques
- Edit and stitch the image for a polished finish
- Share it using tools like www.threesixty.tours
Keep Experimenting
Don’t be afraid to try new techniques. Play around with lighting, angles, and editing styles. The more you experiment, the better your **360 images** will become.
Share Your Work
Once your image is ready, show it off. Use www.threesixty.tours to embed your **virtual tour** on your website, share it on social media, or email it to potential clients. It’s a great way to showcase your work and attract more attention.
Want to stand out in a crowded market? Start creating your own **360 images** today and unlock a whole new level of visual storytelling.
For more inspiration and tools, visit www.threesixty.tours and take your **virtual tours** to the next level.
External Resources:
-
Learn more about how **virtual tours** are transforming real estate marketing in this article from Matterport: https://matterport.com/blog/why-virtual-tours-are-future-real-estate-marketing
-
Discover how **360 photography** is being used in tourism and travel on National Geographic: https://www.nationalgeographic.com/photography/article/360-degree-photos-virtual-reality
Word Count: Approx. 2,150 words.