how to make 360 photo
How to Make a 360 Photo: A Complete Step-by-Step Guide
Excerpt:
360-degree photography is transforming how we experience spaces online. Whether you’re a photographer looking to expand your portfolio or a real estate agent aiming to create immersive virtual tours, learning how to make a 360 photo is an invaluable skill. In this comprehensive guide, we’ll walk you through everything you need to know—from understanding the basics to capturing, editing, and showcasing stunning 360 photos. Perfect for Threesixty.tours users, this article will empower you to create breathtaking virtual experiences that captivate audiences and drive engagement.
I. Introduction
In today’s visual world, static images just don’t cut it anymore. People want to feel like they’re actually there, and that’s exactly what 360 photos deliver. Unlike traditional flat images, 360-degree photos let viewers explore a scene in every direction—up, down, and all around.
This immersive experience is a game-changer for industries like:
- Real estate
- Tourism
- Event planning
- Hospitality
For real estate agents, a well-crafted 360 photo on platforms like Threesixty.tours can mean the difference between a quick sale and a listing that lingers. For photographers and marketers, it opens up new creative and commercial opportunities.
In this guide, we’ll show you exactly how to make a 360 photo, step-by-step. Whether you’re using a 360 camera, a DSLR, or even your smartphone, you’ll learn how to create stunning, professional-quality images that are ready to share on Threesixty.tours.
II. Understanding the Basics of 360 Photography
Before you dive into shooting, it’s important to understand what makes a 360 photo different from a regular image.
A 360 photo captures every angle around a single point. This creates a fully navigable, spherical view. Traditional photos capture just one perspective, but 360 photos let viewers look in any direction. This offers a much deeper sense of presence.
Types of 360 Photos: Spherical vs. Cylindrical
- Spherical 360 Photos: These cover the entire sphere, including the sky above and the ground below. They’re ideal for virtual tours and real estate listings.
- Cylindrical 360 Photos: These capture a full 360-degree horizontal view but leave out the top and bottom. They’re simpler but less immersive.
For best results, especially if you’re planning to create virtual tours with Threesixty.tours, go for spherical photos.
Essential Equipment for Shooting 360 Photos
You don’t need a Hollywood budget to get started, but the right tools make a difference:
- Dedicated 360 Cameras: Devices like the Ricoh Theta Z1, Insta360 One X2, and GoPro MAX make it super easy to capture 360 images in one shot.
- DSLR or Mirrorless Cameras: If you want ultra-high resolution, you can use a DSLR with a panoramic tripod head to manually stitch images together.
- Smartphones: Apps like Google Street View let you capture 360 photos with your phone, although the quality might not match that of dedicated gear.
- Tripods and Stabilizers: A sturdy tripod is crucial for keeping your shots steady and your stitching seamless.
Understanding these basics gives you a strong foundation to start creating professional 360 photos that wow your audience.
III. Preparing for Your 360 Photo Shoot
Preparation is half the battle when it comes to 360 photography. Since you’re capturing everything around you, there’s nowhere to hide messy details or distractions.
Selecting the Right Location
Choose a location that looks good from every angle. Think about:
- Composition: Is the environment visually interesting in every direction?
- Key Features: Highlight architectural details, scenic landscapes, or unique decor.
- Lighting: Natural light is your best friend. Aim for golden hour—shortly after sunrise or before sunset—for the most flattering results.
Planning the Shot
Before you press the shutter button, plan your settings:
- Camera Settings: Keep ISO low for cleaner images. Use a narrow aperture (around f/8 to f/11) for sharpness throughout the scene. Adjust shutter speed based on available light.
- Shooting Method: Decide if you’re using a 360 camera for a one-shot capture or a DSLR for higher-resolution stitched images.
Best Practices for Capturing Dynamic Scenes
If you’re shooting busy places like streets or events:
- Timing is everything. Try to capture during quieter moments to avoid motion blur.
- Take multiple shots to give yourself options.
- Use manual exposure and white balance to ensure consistency across all images.
Good planning ensures that your final 360 photo will be clean, immersive, and ready to impress viewers on Threesixty.tours.
IV. Capturing the 360 Photo
Now comes the fun part—actually capturing your 360 image!
Using a 360 Camera: Step-by-Step
- Set up your camera on a sturdy tripod at about eye level.
- Make sure the tripod is perfectly level to avoid a tilted horizon.
- Adjust your settings manually if possible—ISO, shutter speed, and white balance.
- Use a remote trigger or your camera’s app to take the shot without touching the camera.
Most modern 360 cameras automatically stitch the images together, giving you a ready-to-use file.
Capturing with a DSLR: Stitching Method
If you’re using a DSLR:
- Mount your camera on a panoramic head attached to a tripod.
- Rotate around the nodal point of the lens to minimize parallax errors.
- Take multiple overlapping shots—make sure there’s at least a 30% overlap between images.
- Move systematically to cover the full sphere.
Software Options for Stitching
After capturing, you’ll need to stitch your images together. Good software options include:
- PTGui: Professional-grade stitching with HDR and batch processing support.
- Hugin: A free, open-source alternative that’s surprisingly powerful.
- Adobe Photoshop: Useful for basic stitching but not specialized for 360 panoramas.
Taking the time to capture properly makes editing much easier later on.
V. Editing and Enhancing Your 360 Photo
Editing is where your 360 photo truly comes to life. Even the best captures can benefit from a little polish.
Basic Editing Techniques
- Color Correction: Adjust white balance, vibrance, and contrast to make your image pop.
- Exposure Balancing: Bring out details in both highlights and shadows.
- Filters: Apply subtle filters to enhance mood, but avoid overprocessing.
- Object Removal: Use tools like the clone stamp to remove unwanted elements like tripod shadows or camera reflections.
Using 360-Specific Editing Software
Some tools are designed specifically for 360 photos:
- Adobe Lightroom: Great for global adjustments and batch processing.
- PTGui: Offers editing features during stitching.
- Affinity Photo: Another excellent option with 360 editing capabilities.
Always preview your edits in a 360 viewer to catch any stitching errors, distortions, or artifacts.
Exporting Your Final Image
Export your final image as an equirectangular JPEG or TIFF with a 2:1 aspect ratio. Make sure you embed the correct metadata so platforms like Threesixty.tours recognize it as a 360 photo.

VI. Hosting and Sharing Your 360 Photo
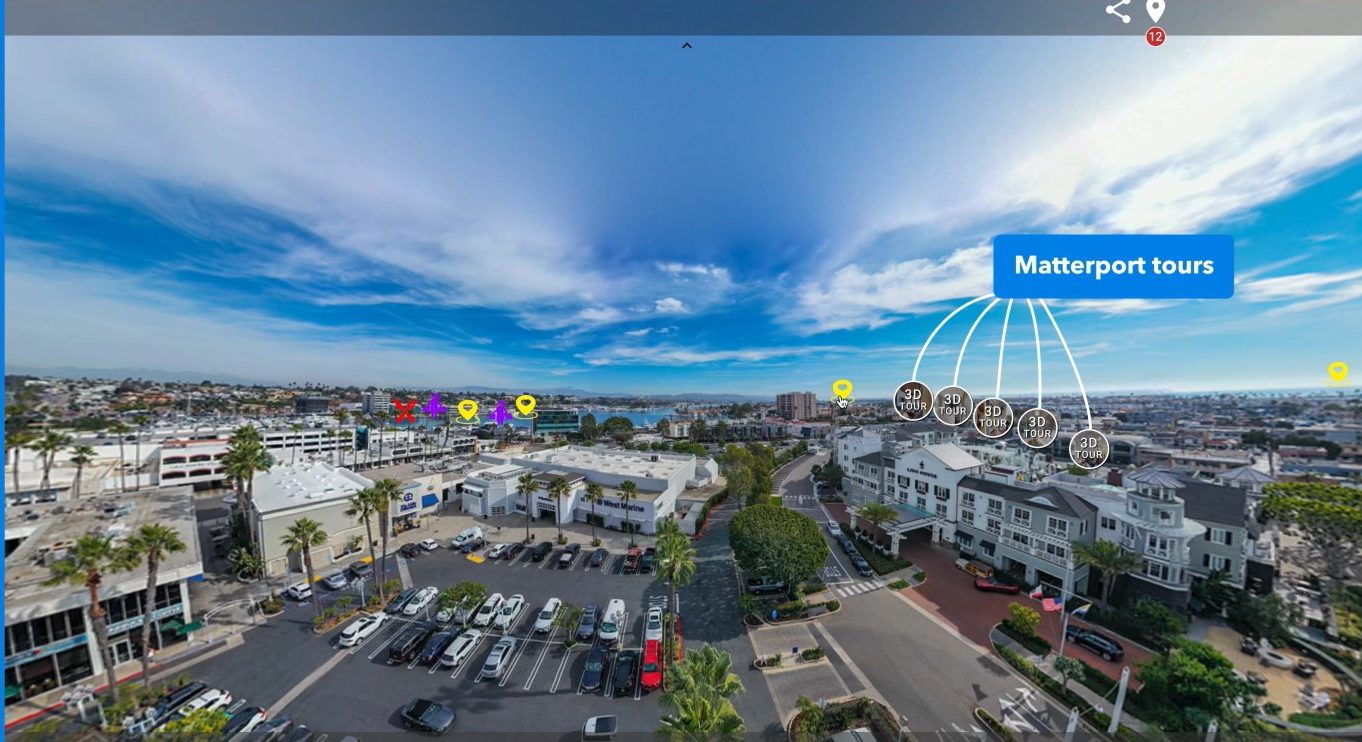
Once your photo is ready, it’s time to share it with the world. Hosting your 360 photos on a platform like Threesixty.tours makes it easy to create stunning virtual tours.
Why Use Threesixty.tours?
- Easy Uploads: Drag and drop your 360 photos to create beautiful tours.
- Customization: Add hotspots, navigation menus, and branding.
- Shareability: Embed tours on your website or share them directly via a link.
- Analytics: Track how viewers interact with your tours.
Other Platforms to Consider
You can also share your 360 photos on social media platforms that support panoramic images, like Facebook and YouTube. Google Street View is another excellent option for reaching a broader audience.
VII. Common Mistakes to Avoid
Even seasoned photographers sometimes trip up when shooting 360 photos. Here are a few pitfalls to watch out for:
- Poor Lighting: Dark, grainy images don’t create a good impression.
- Visible Equipment: Make sure your tripod and camera reflections are minimized or edited out.
- Stitching Errors: Always double-check your stitching for visible seams.
- Overediting: Keep your edits natural to maintain realism.
Avoiding these mistakes will ensure your 360 photos are always professional and immersive.
VIII. Conclusion
Creating a 360 photo might seem complex at first, but it’s incredibly rewarding once you get the hang of it. Let’s quickly recap:
- Understand the basics of 360 photography and choose the right equipment.
- Prepare carefully by selecting the best location and planning your settings.
- Capture methodically, whether using a 360 camera or stitching DSLR images.
- Edit thoughtfully to create a polished, immersive experience.
- Share your work easily with platforms like Threesixty.tours.
Mastering 360 photography can open up new creative and professional opportunities. Whether you’re showcasing real estate, creating virtual tours, or enhancing your portfolio, the world of immersive imagery is growing fast. There’s never been a better time to jump in!
Ready to start creating your own 360 masterpieces? Visit Threesixty.tours today. Turn your photos into engaging virtual experiences that captivate and convert!
External Resources for Further Learning: