how to make a 360 image
How to Make a 360 Image: A Complete Guide for Photographers and Real Estate Professionals
In today’s digital world, immersive content is more important than ever. One of the most powerful tools in this space is the 360-degree image. Whether you’re a photographer looking to expand your creative horizons or a real estate professional aiming to give potential buyers a virtual walkthrough, learning how to make a 360 image is a game-changer.
In this guide, we’ll walk you through every step—from understanding what a 360 image is, to capturing, editing, and publishing it. By the end, you’ll be ready to create stunning, interactive visuals that can be easily shared using platforms like www.threesixty.tours. Let’s get started.
I. What Is a 360 Image—and Why It Matters
A 360 image, also called a spherical or panoramic image, captures everything around the camera—left, right, up, and down. Unlike traditional photos, which show only a slice of a scene, 360 images let viewers explore the entire environment interactively.
This immersive quality is what makes 360 images so valuable. For real estate agents, they offer virtual home tours that feel almost like being there in person. For photographers, they open up new creative possibilities. And for businesses in tourism, hospitality, and marketing, they provide a dynamic way to engage customers.
Platforms like www.threesixty.tours make it easy to turn these images into full virtual tours. That means you can guide clients through a luxury condo, a scenic park, or even a museum—all from their phone or computer.
II. Understanding the Basics of 360 Photography
Before you start snapping photos, it helps to understand the basics of 360 photography. There are two main types of 360 content: still images and video. This guide focuses on still images, which are commonly used in virtual tours and online showcases.
To create a 360 image, you need to capture multiple photos from different angles and “stitch” them together. This stitching process creates a seamless panoramic view that can be explored on-screen.
Some cameras, like the Insta360 ONE X2 or Ricoh Theta Z1, do this automatically. Others, like DSLR setups, require manual stitching using software.
The key is coverage. Since no single lens can capture every angle at once, you’ll either need a dual-lens camera or take several overlapping shots with a regular camera. These are then combined into one spherical image.
If you’re just starting out, check out this beginner’s guide to 360 photography from Shotkit. It breaks down the process in simple terms and helps you choose the right path based on your goals.
III. Choosing the Right Equipment
Your equipment plays a big role in the quality of your 360 images. That doesn’t mean you need to spend thousands of dollars—but it does mean you should choose wisely.
- Dedicated 360 Cameras
- These are the easiest way to get started.
- Cameras like the Ricoh Theta Z1, Insta360 ONE X2, and GoPro Max have dual lenses that automatically capture and stitch 360 images.
- They’re compact, user-friendly, and ideal for real estate agents using platforms like www.threesixty.tours.
- DSLR or Mirrorless Cameras
- If you’re aiming for ultra-high resolution, a DSLR with a fisheye lens is the way to go.
- This setup offers more control and better image quality but requires manual stitching.
- You’ll also need a panoramic tripod head to rotate the camera correctly.
- Smartphone Solutions
- Yes, you can create 360 images with your phone!
- Apps like Google Street View let you take multiple shots and stitch them together.
- You can also enhance your phone’s capabilities with accessories like fisheye lenses or 360 camera attachments.
- Accessories
- Don’t forget the extras. A sturdy tripod or monopod helps keep your camera stable.
- If you’re using a DSLR, a panoramic head is essential for smooth rotation.
- Also consider remote shutters to avoid shaking the camera during shots.
Choosing the right gear is about balancing quality, cost, and convenience. For most real estate professionals, a dedicated 360 camera offers the best mix of ease and performance.
IV. Capturing the 360 Image
Now that you’ve got your gear, it’s time to take the shot. This part is crucial—because even the best equipment can’t fix a poorly captured image.
- Prep Your Space
- If you’re shooting a property, make sure it’s clean, well-lit, and staged.
- Turn on all the lights and open the curtains to bring in natural light.
- Remove clutter and personal items to make the space look inviting.
- Set Up Your Camera
- For 360 cameras, place the device at eye level—usually around 5 feet high.
- Use a monopod with a small base to minimize its appearance in the final image.
- If you’re using a DSLR, mount it on a panoramic tripod head and rotate it around the camera’s nodal point.
- Adjust Camera Settings
- Use manual mode to lock in your exposure, white balance, and focus.
- This ensures consistency across all shots.
- If your camera supports HDR (High Dynamic Range), turn it on to capture better detail in both bright and dark areas.
- Take the Shots
- For DSLR setups, you’ll need to take multiple overlapping photos—usually every 30 to 45 degrees.
- Don’t forget to capture the zenith (ceiling) and nadir (floor) shots.
- For 360 cameras, one shot is usually enough, but make sure the camera is stable and level.
- Consider HDR Bracketing
- In tricky lighting situations, take multiple exposures of each angle—one underexposed, one normal, and one overexposed.
- Later, you can blend them into one balanced image during editing.
Capturing a great 360 image takes practice. Don’t rush it. Take your time to frame the shot, adjust your settings, and double-check your angles.
V. Editing and Stitching Your 360 Image
Once you’ve captured your images, it’s time to stitch and edit them. This is where your raw shots are transformed into a seamless, interactive experience.
- Automatic Stitching
- If you’re using a 360 camera, you’re in luck.
- Most models come with companion apps or desktop software that do the stitching for you.
- Insta360 Studio and Ricoh Theta software are two popular options.
- Manual Stitching
- For DSLR setups, you’ll need software like PTGui, Hugin, or Autopano.
- These tools let you align images using control points, adjust exposure, and fine-tune the final panorama.
- It takes more time—but the results can be stunning.
- Editing the Image
- After stitching, open your image in a photo editor like Adobe Photoshop.
- Here, you can correct colors, remove shadows, and clean up any stitching errors.
- If your tripod or monopod is visible, use the clone tool to erase it.
- Add Metadata
- To make sure your image displays correctly in 360 viewers, it needs special metadata.
- Tools like Exif Fixer can embed the necessary EXIF and XMP data into your image file.
- Export the Final Image
- Save your image in JPEG or PNG format with a 2:1 aspect ratio (e.g., 6000×3000 pixels).
- This is the standard for equirectangular projection, which is required for 360 viewing.
- Add Interactive Features
- Want to take your image to the next level?
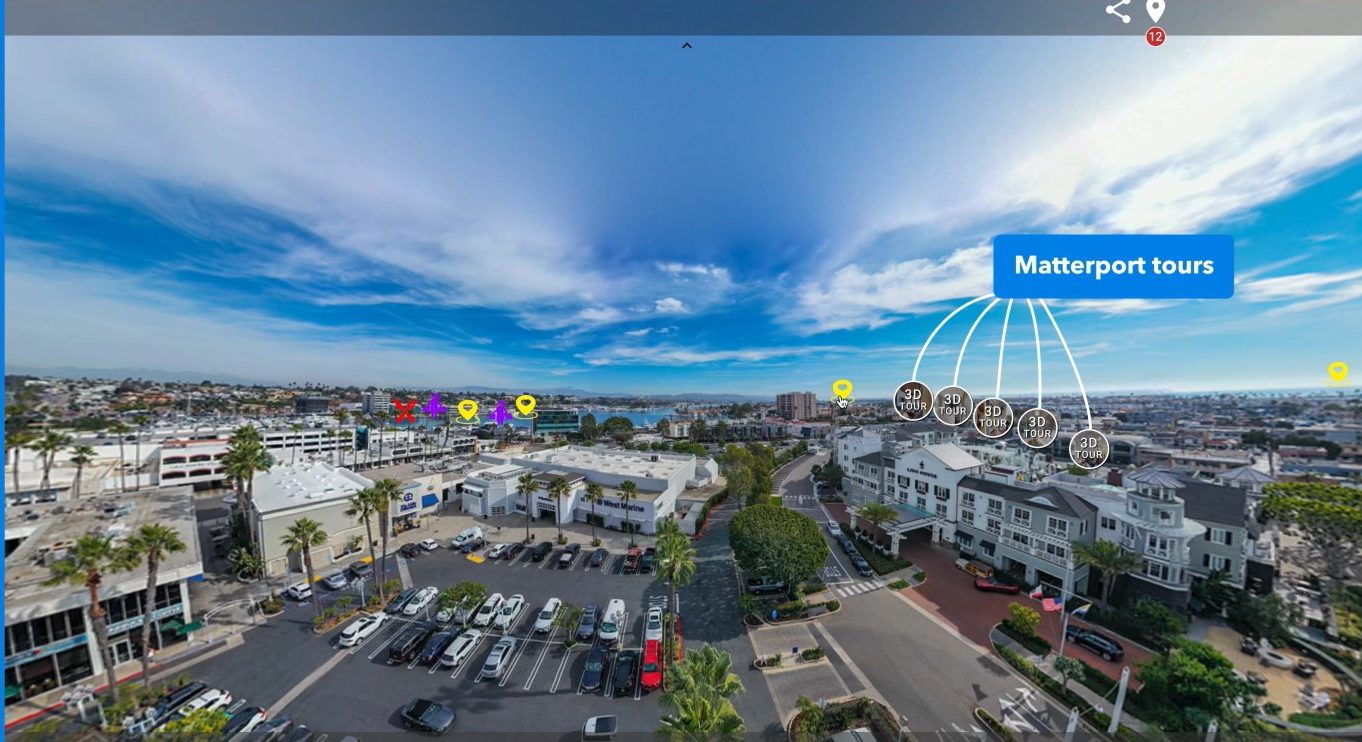
- Upload it to www.threesixty.tours and add interactive elements like hotspots, info tags, or even background music.
- This turns your image into a full virtual tour that engages and informs your audience.
Editing and stitching may sound technical, but don’t worry. With practice—and the right software—it becomes second nature.

VI. Publishing and Sharing Your 360 Image
Now that your image is ready, it’s time to show it off. There are several ways to publish and share your 360 content.
- Use a Virtual Tour Platform
- The easiest way to publish your 360 images is through a platform like www.threesixty.tours.
- It lets you create interactive tours, add clickable elements, and share the final product via a simple link.
- No coding required.
- Embed on Your Website
- You can embed your 360 image or tour directly on your website.
- This is a great way to keep visitors engaged and reduce bounce rates.
- Threesixty.tours provides easy embed codes for this purpose.
- Share on Social Media
- Platforms like Facebook support 360 images natively.
- Just upload your image, and viewers can explore it by dragging their finger or mouse.
- Instagram doesn’t support 360 images directly, but you can convert your image into a video using tools like Pano2VR.
- Use in Email Campaigns
- Add a screenshot or thumbnail of your 360 image in your email, and link it to the full experience on www.threesixty.tours.
- This is a great way to boost engagement and click-through rates.
- Optimize for Mobile
- Most people will view your content on their phones.
- Make sure your images load quickly and display correctly on mobile devices.
- Threesixty.tours is fully mobile-optimized, so you’re covered.
For more tips on sharing 360 content, check out this guide from 360 Rumors. It covers best practices for publishing on different platforms.
VII. Conclusion
Creating a 360 image might seem complex at first—but once you break it down, it’s totally doable. With the right tools, a little practice, and platforms like www.threesixty.tours, you can create immersive visuals that truly stand out.
Here’s a quick recap:
- Learn the basics of 360 photography.
- Choose the right gear for your needs and budget.
- Capture your images with care and attention to detail.
- Edit and stitch your images to perfection.
- Share your work using www.threesixty.tours and other platforms.
Whether you’re showcasing a home, telling a story, or exploring new creative territory, 360 images give your audience a reason to stop, look, and interact.
So grab your camera, find your scene, and start creating. The future of visual storytelling is spherical—and now, you know exactly how to be a part of it.
Ready to create your first virtual tour? Get started now at www.threesixty.tours.