real estate photography tips
Real Estate Photography Tips: How to Capture Stunning Property Images That Sell
In today’s digital-first real estate market, high-quality photography is no longer a luxury—it’s a necessity. With more homebuyers beginning their search online, compelling visuals can make or break a listing. Whether you’re a seasoned real estate photographer or a real estate agent looking to enhance your listings, mastering the art of real estate photography is essential.
In this comprehensive guide, we’ll break down actionable real estate photography tips to help you capture stunning images that attract buyers and drive faster sales. Plus, we’ll explore how integrating 360-degree virtual tours using platforms like www.threesixty.tours can elevate your listings and give buyers a more immersive experience.
Real estate photography isn’t just about snapping pretty pictures. It’s about storytelling, creating emotional appeal, and showcasing a property’s best features. Let’s dive in.
Preparation Before the Shoot
A successful shoot starts with solid preparation. You can’t expect to walk into a home and wing it. Here’s how to set yourself up for success.
A. Understand the Property
Start by walking through the home with the agent or homeowner. Ask questions. What makes this property special? Is it the open-concept kitchen? The spa-like bathroom? The backyard oasis?
Knowing what to showcase helps you plan your shots. Also, consider the target audience:
- A downtown condo might attract young professionals.
- A four-bedroom suburban home could appeal to families.
Tailoring your approach based on who’s likely to buy the home makes your photos more effective.
B. Plan the Shoot
Timing is everything. Natural light is your best friend, so aim to shoot during the “golden hours”—early morning or late afternoon. This soft, warm light flatters interiors and exteriors alike.
Make a shot list so you don’t miss anything. Your list should include:
- Front exterior
- Entryway
- Living room
- Kitchen
- Dining area
- Bedrooms
- Bathrooms
- Backyard or patio
- Unique features (fireplace, home office, walk-in closet)
Having a checklist keeps you organized and efficient.
C. Clean and Stage the Home
A clean, clutter-free home photographs much better than a messy one. Ask the homeowner to remove personal items, excess furniture, and anything that could distract from the space.
Staging doesn’t have to be elaborate. Simple touches—like a bowl of fruit on the counter or fresh towels in the bathroom—go a long way.
If you’re using a 360-degree virtual tour from www.threesixty.tours, staging becomes even more important. Since viewers can look in every direction, every corner must be camera-ready—including closets, hallways, and under furniture.
Equipment Essentials
You don’t need the most expensive gear, but having the right tools makes a huge difference in photo quality.
A. Camera Options: DSLR vs. Smartphone
DSLR and mirrorless cameras are ideal for real estate photography. They offer better image quality, manual settings, and lens flexibility.
However, today’s smartphones can still get the job done—especially when paired with apps that give you control over exposure and focus. If you’re just starting out, a smartphone plus a tripod can be a good entry point.
For professional results, especially if you’re creating virtual tours with www.threesixty.tours, a DSLR or mirrorless camera is the way to go.
B. Best Lenses for Real Estate
Your lens choice can make or break your photos.
- Wide-angle lenses: Perfect for capturing the full scope of a room. For crop sensor cameras, use a 10-24mm lens. For full-frame cameras, go with 16-35mm.
- Macro lenses: Great for detail shots—think custom tile work or designer fixtures.
For 360-degree photography, you’ll need a panoramic or fisheye lens to capture the entire scene. These lenses work well with virtual tour stitching tools.
C. Must-Have Accessories
- Tripod: Keeps your shots steady and allows for longer exposures.
- External flash: Helps balance lighting in dark or unevenly lit rooms.
- Reflectors: Bounce natural light into shadowy areas.
- Remote shutter release: Reduces camera shake for ultra-sharp images.
For 360-degree tours, consider a panoramic tripod head or a 360-degree camera like the Ricoh Theta or Insta360. These pair seamlessly with www.threesixty.tours and make creating virtual tours a breeze.
Techniques for Captivating Shots
Now that you’re prepped and equipped, it’s time to focus on technique. Here’s how to make your shots pop.
A. Composition Tips
Good composition helps guide the viewer’s eye and tells a story.
- Rule of Thirds: Imagine your frame divided into nine equal squares. Place key elements along these lines for a balanced look.
- Leading Lines: Use hallways, countertops, or furniture to draw the eye into the scene.
- Keep Lines Straight: Crooked walls or tilted door frames can make a space feel off. Use a tripod with a level or correct in post-processing.
B. Lighting Basics
Natural light is always best. Open curtains and blinds to let in as much light as possible.
- Avoid mixed lighting: Turn off artificial lights if they clash with natural light. Different light temperatures can create weird color casts.
- Use HDR: Take multiple exposures and blend them. This helps capture both bright windows and darker corners.
C. Editing Tips
Post-processing is where you fine-tune your images.
- Adjust brightness, contrast, and saturation to make the image pop.
- Remove distractions like cords, stains, or reflections using tools like the clone stamp.
- Use software like Adobe Lightroom or Photoshop. Beginners might prefer Luminar or Snapseed for simpler workflows.
If you’re editing 360-degree images for a virtual tour on www.threesixty.tours, use tools like PTGui for stitching and Photoshop for touch-ups.
Showcasing Key Areas
Not every room is made equal. Focus on the spaces that buyers care about most.
A. Exterior and Curb Appeal
The first photo buyers see is usually the front of the house. Make it count.
- Shoot during golden hour for warm, flattering light.
- Ensure the lawn is trimmed, the driveway is clean, and the porch is tidy.
- Consider drone photography for aerial views—especially for large lots or homes near parks or water.
Drone shots pair well with 360-degree tours, giving buyers a complete view of the property’s surroundings.
B. Living Spaces and Layout
Living rooms, kitchens, and dining areas are where buyers imagine daily life.
- Show how rooms connect. Use wide shots from doorways or corners to capture flow.
- Shoot from chest height for a natural perspective. Avoid extreme angles that distort the room.
C. Details That Matter
Small details can leave a lasting impression.
- Highlight features like crown molding, built-in shelves, or designer light fixtures.
- Make kitchens and bathrooms sparkle. Clear the counters, fluff the towels, and open shower curtains.
These details shine in 360-degree virtual tours. Viewers can zoom in and explore at their own pace, increasing engagement and time spent on your listing.

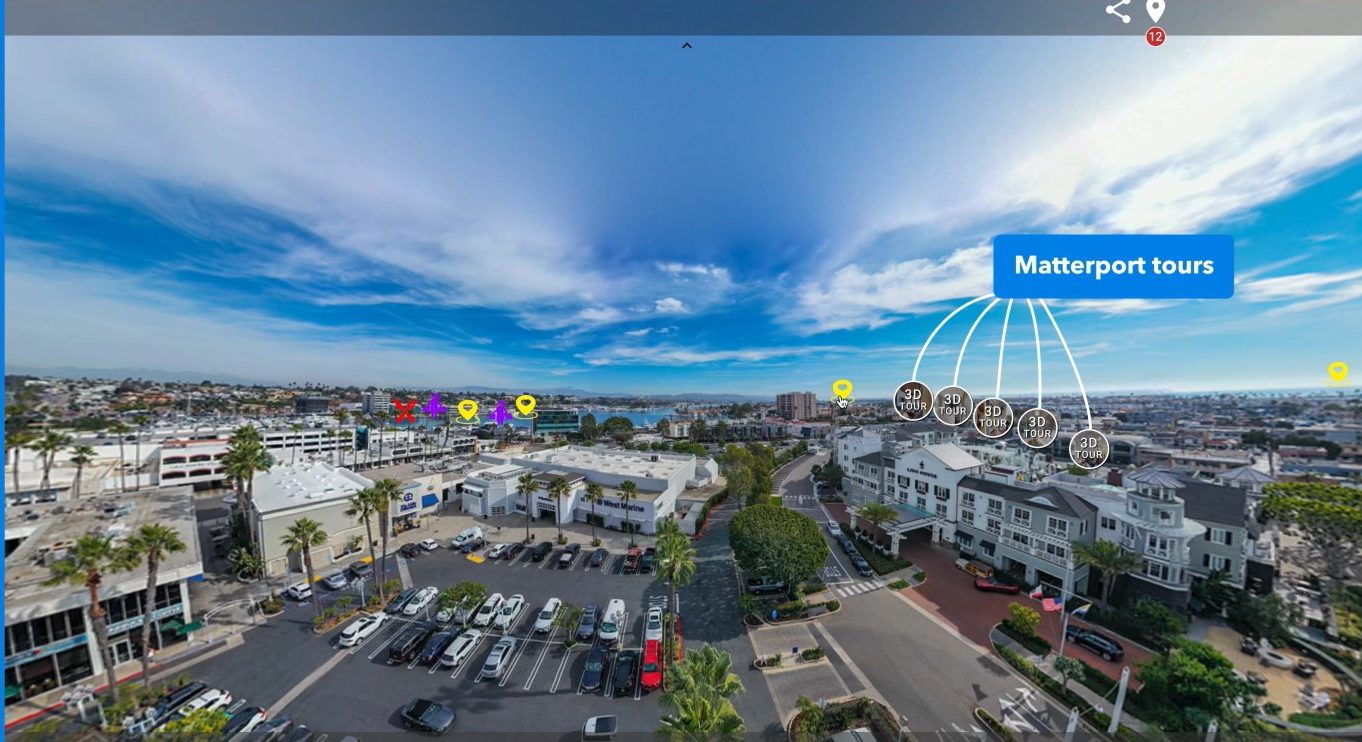
Using 360-Degree Virtual Tours
Virtual tours are quickly becoming a must-have in real estate marketing. With platforms like www.threesixty.tours, you can create immersive, interactive experiences that let buyers walk through a property from their phone or laptop.
Why it works:
- Buyers stay on your listing longer.
- They can explore every room, nook, and cranny.
- It builds trust by offering full transparency.
Setting up a virtual tour is easier than you think. Just capture 360-degree images, upload them to www.threesixty.tours, and customize your tour with hotspots, floor plans, and branding.
Whether you’re showcasing a luxury estate or a cozy condo, virtual tours give you a powerful edge.
Conclusion
Real estate photography is about more than just pretty pictures. It’s about creating a visual experience that captures attention and drives action.
Let’s recap the key takeaways:
- Prepare thoroughly. Know the property and stage it well.
- Use the right gear. A DSLR and wide-angle lens are your best friends.
- Master basic techniques like composition and lighting.
- Edit your photos to enhance clarity and appeal.
- Highlight key areas—especially living spaces, exteriors, and unique features.
- Boost your listings with 360-degree virtual tours using www.threesixty.tours.
Whether you’re a photographer looking to up your game or an agent aiming to close more deals, these tips will help you create stunning, effective property images.
And don’t forget—embracing new tools like www.threesixty.tours can set you apart in a crowded market. The future of real estate marketing is immersive, interactive, and visual. Start capturing it today.