How To Do Virtual Tour Photography
How To Do Virtual Tour Photography Learn the Ins & Outs of Virtual Tour Photography Overview Master the art of
Easy to Use Virtual Tour Software


How To Do Virtual Tour Photography Learn the Ins & Outs of Virtual Tour Photography Overview Master the art of

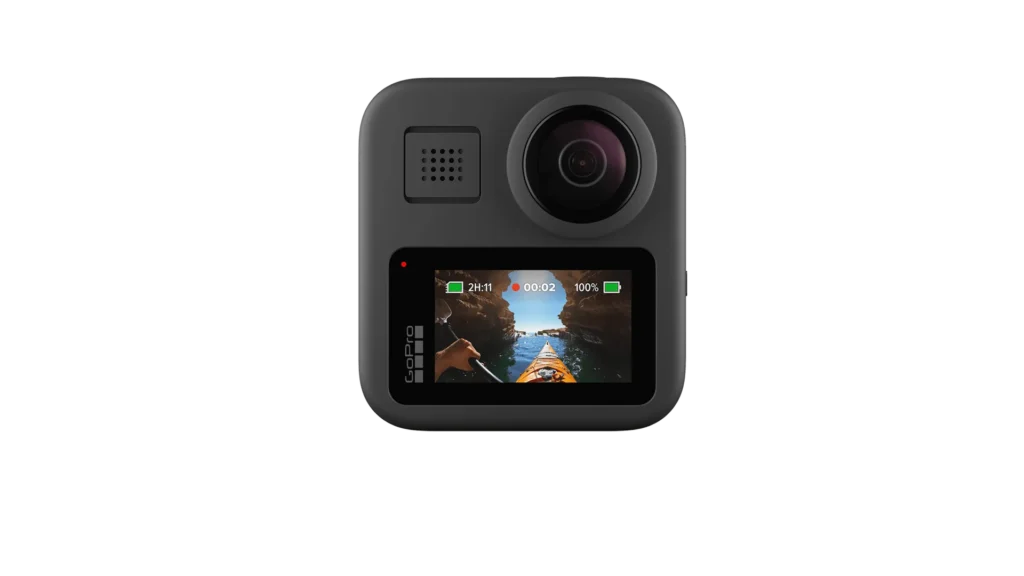
GoPro Recommended SD Card The Ultimate Guide to Maximizing Performance Overview Choosing the right SD card for your GoPro is

AI Panorama – How to Create Virtual Tours using AI How to Take Advantage of AI to Create Better Virtual

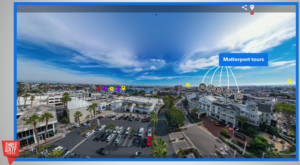
Why an Aerial View of the Layout of Each Room Matters how aerial 360-degree views can transform how clients engage

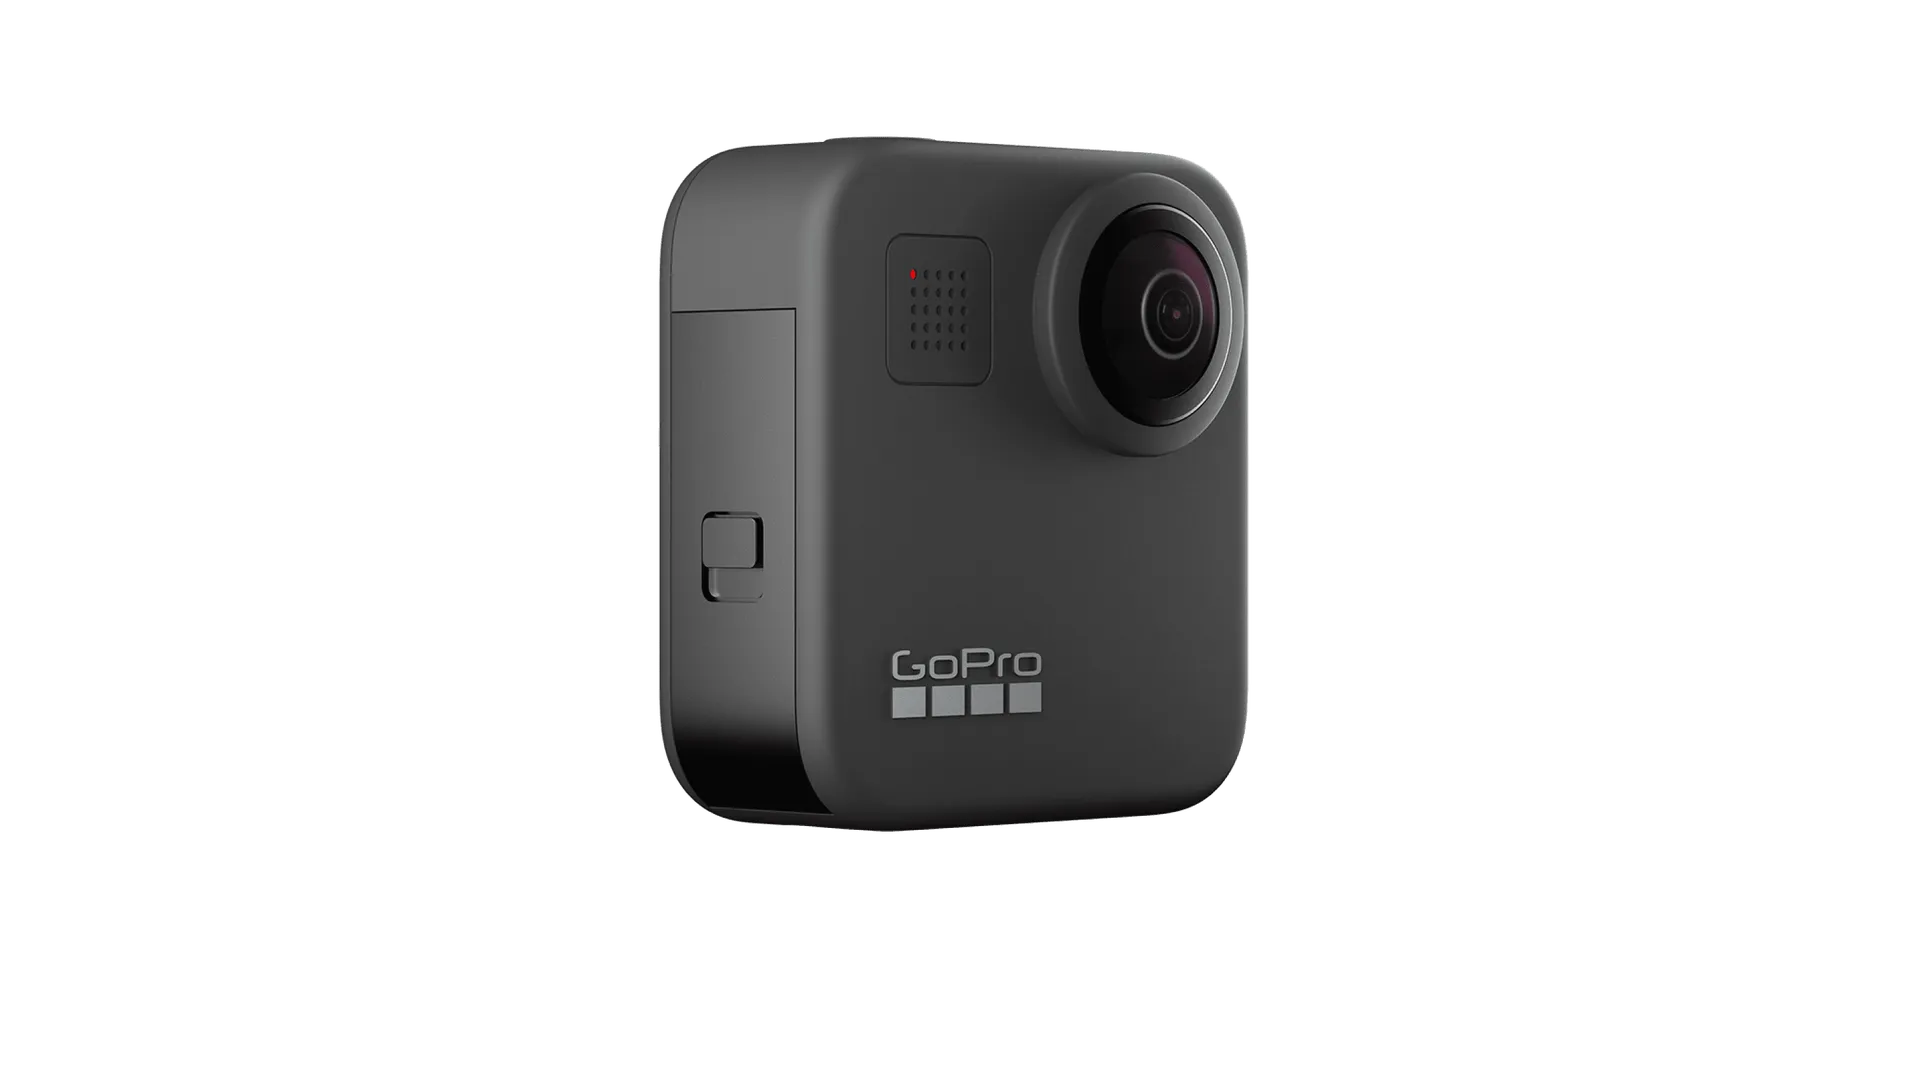
Gopro Max Battery Life Learn How To Make the Best Out of The Battery Overview Discover essential tips and techniques
Best Matterport Alternative for Virtual Tours in 2024 Create Virtual Tours Without Breaking the Bank Overview Looking for a Matterport